
The visual editor: blocks, sections and settings
The editor is built around blocks. A page is a stack of them, and every block has plain settings instead of a developer panel.
Find your way around
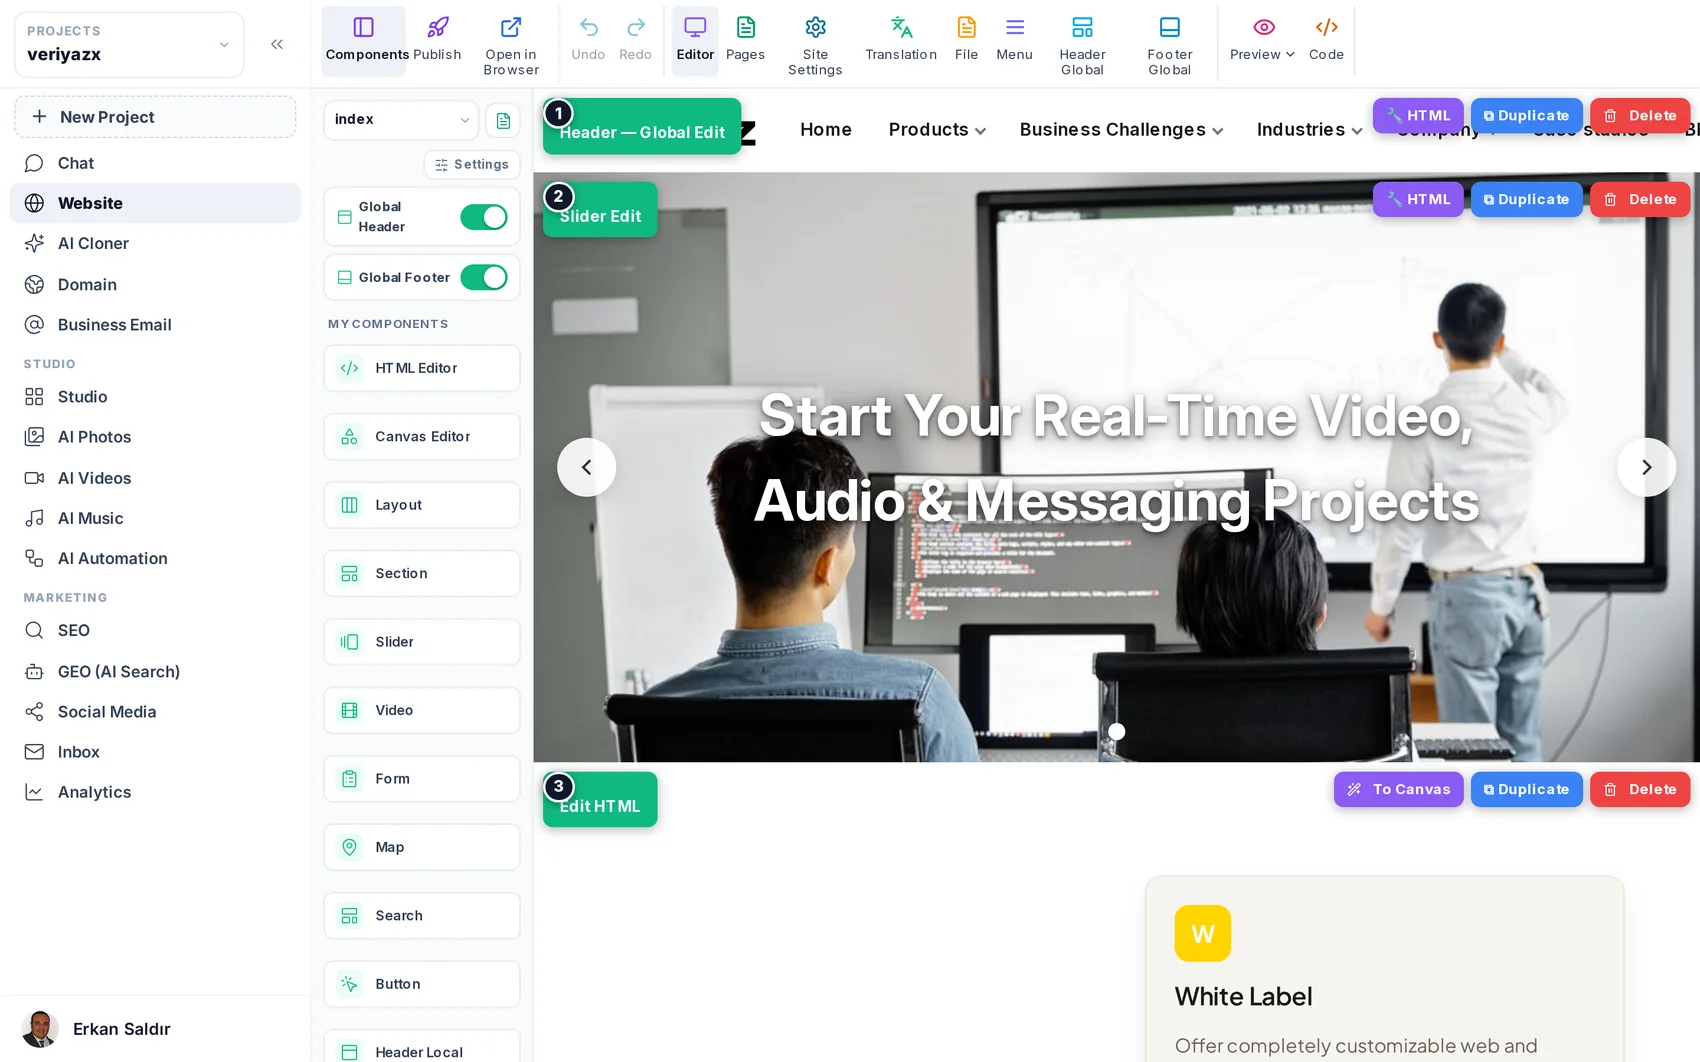
The left rail holds the modules. Next to it is the component library — the blocks you can add. The middle is your live page. The top bar has Publish, Preview, undo/redo, Pages, Site Settings and the code view.
Edit text and images
Click any text and type. Click an image and choose a replacement from your project library, your AI photos, or upload one. There is no separate "content mode" to switch into.
Add and arrange blocks
Drag a block from the library into the page: section, slider, form, map, video, search, button or raw HTML. Drag blocks by their handle to reorder. Each block has Edit, Duplicate and Delete actions on hover.
Header and footer: global or page-only
The header and footer can be global (shared by every page) or page-only (this page alone). Global is the default and is what you want for a normal site; page-only is for landing pages that deliberately differ. The platform protects a page-only block from being overwritten by a global change.
Tip · If a change you made on one page did not appear elsewhere, that block is page-only — by design.
Preview on phone and tablet
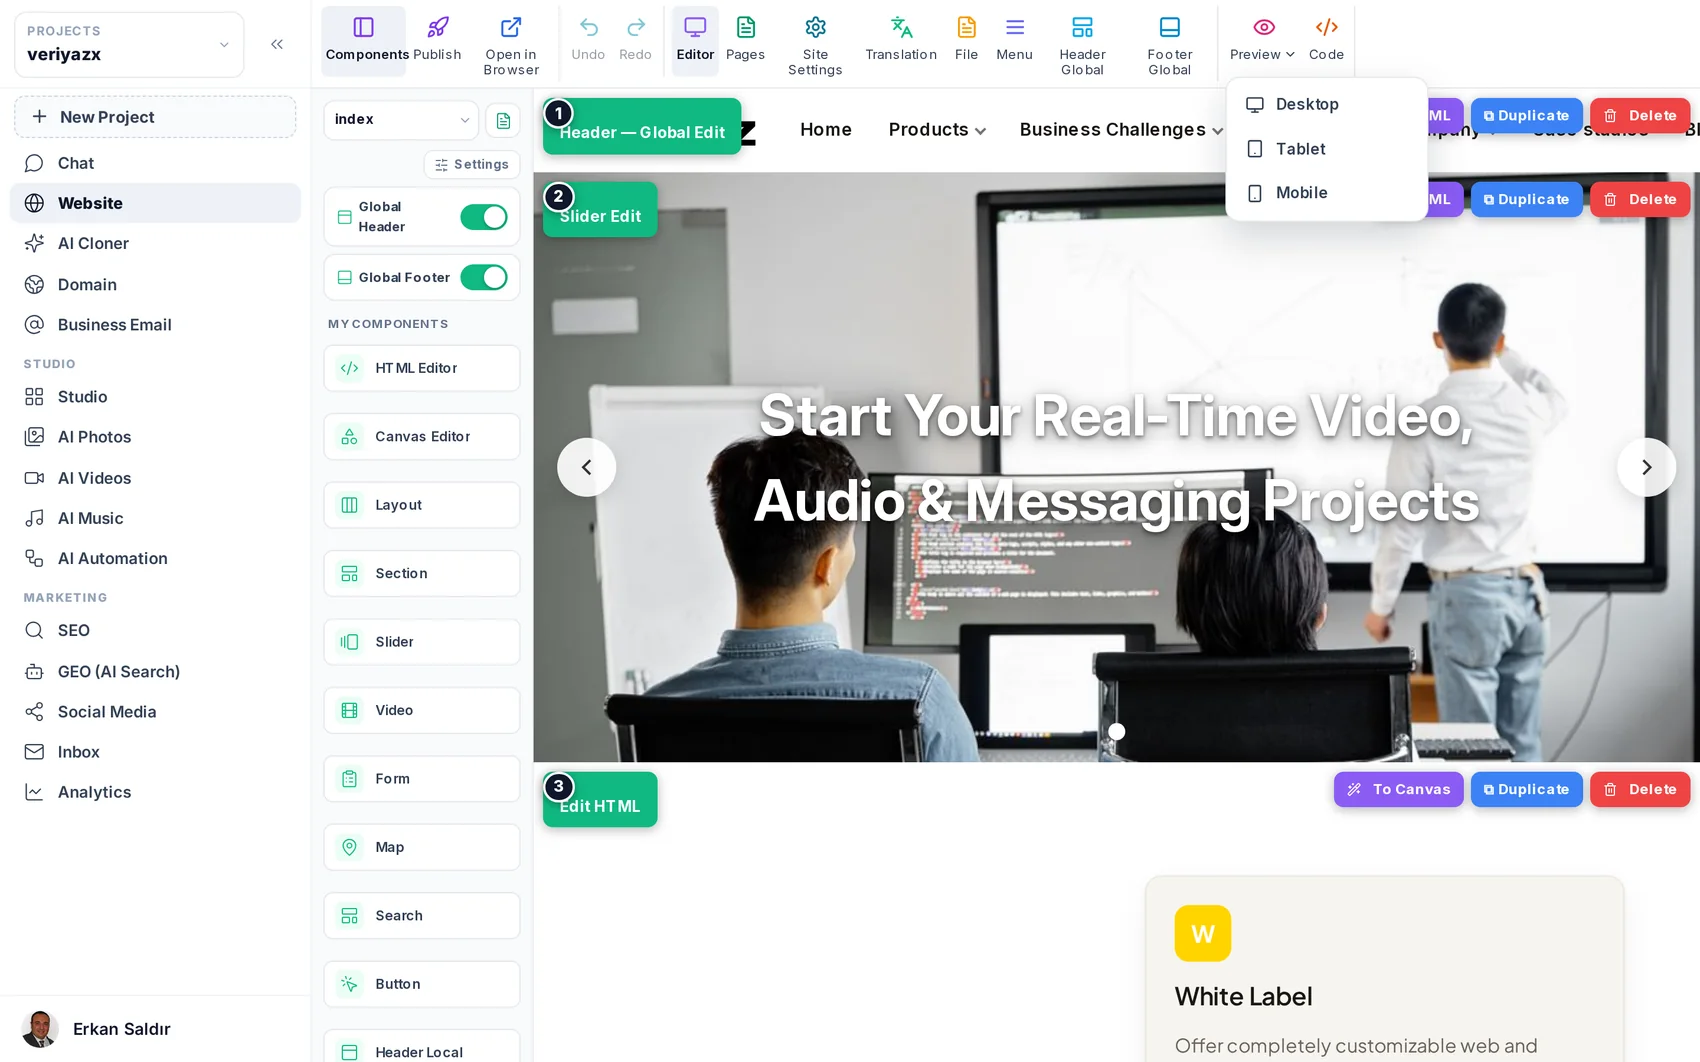
Use the device preview to check the layout at phone width before publishing. Every generated design is mobile-first, but your own edits deserve the same check.
When you want more control
The HTML view lets you edit a block's markup directly, and the free-form canvas lets you place elements anywhere with alignment guides. Both are optional — most people never open them.
Read next
Pages, menus and templates
Add pages, start from ready layouts, and keep the navigation tidy in several languages.
Editing by chatting
Ask for the change in your own words — new pages, new sections, rewritten copy, layout tweaks.
Studio: designing visuals for the site and social
Ready designs that adopt your brand, a layered canvas, and a direct route into pages and posts.